A Quick Demonstration using Genesis Heat Set Artist Paint as the medium.
The Genesis Heat Set Artist Paint is a great tool for those looking to create beautiful works of art. With this type of paint, you can create truly unique and professional looking pieces. Here are the steps for how to use the Genesis Heat Set Artist Paint to create a stunning painting.
1. Gather all your supplies. You will need a canvas, Genesis Heat Set Artist Paint, a paintbrush, and a heat gun.
2. Start by sketching out your painting. Take your time and make sure you have a good idea of what your painting will look like before you begin.
3. Once you have a sketch, you can start applying the paint to your canvas. Begin with the lightest colors first and gradually move to the darker colors.
4. After you have finished applying the paint, let the canvas dry for a few hours.
5. When the canvas is dry, it’s time to heat set the paint. Use the heat gun and move it in a circular motion over the entire canvas. This will help the paint adhere to the canvas and set in place.
6. Once the heat setting is complete, you can begin to add the details of your painting. This is the fun part
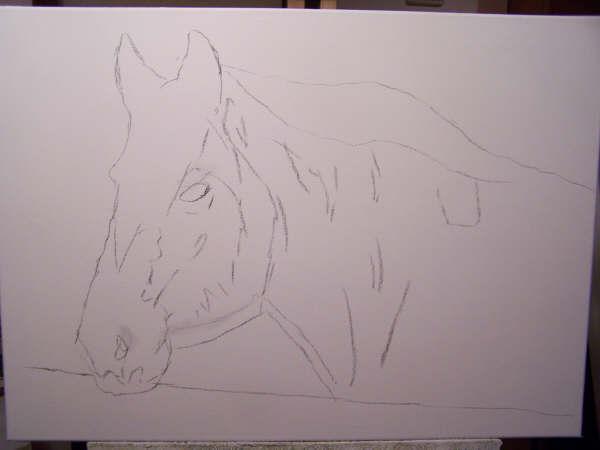
I generally do a rough sketch before I start painting.
My sketches never have a lot of detail to them when I do a sketch, they are only used for positioning of the main features and general placement of the objects. on the canvas
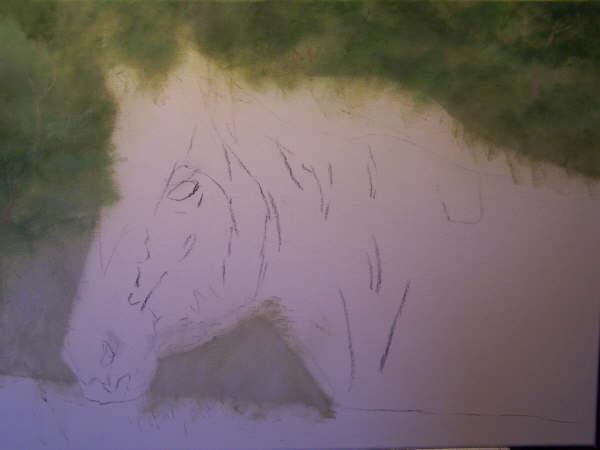
Next I start with a rough soft green mottled background. This will help me get a better feel of where I’m heading with this painting.
The next step is to thoroughly dry the Genesis paint using the Heat Gun on a fairly high setting.
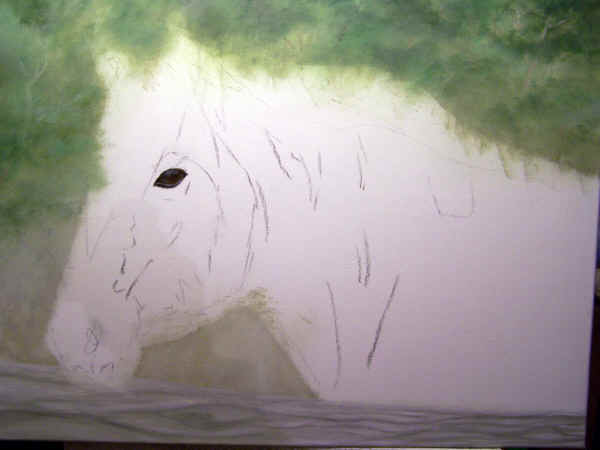
I decided to paint the Draught Horses eye, now I have a starting point to flesh out the rest of the horse head
Again I thoroughly dried the eye using the heat gun.
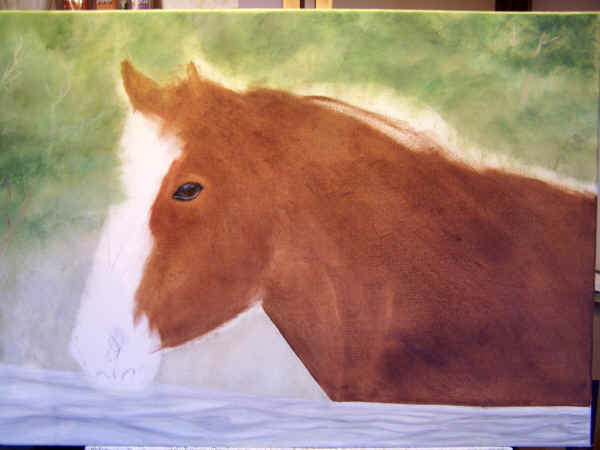
At this stage I added the highlight to the eye, I then dried this area before continuing with the painting.
Then I started to apply the main undercoat colour to the draft horse, its a fairly thin coat of paint at this stage.
I will leave most of this area wet for the moment.
At this stage, I’m starting to work out where the main muscles will appear under the skin, and have started to position them.
I also have dried a few selected areas of this painting, but left most of it wet, so further blending can be done if needed.
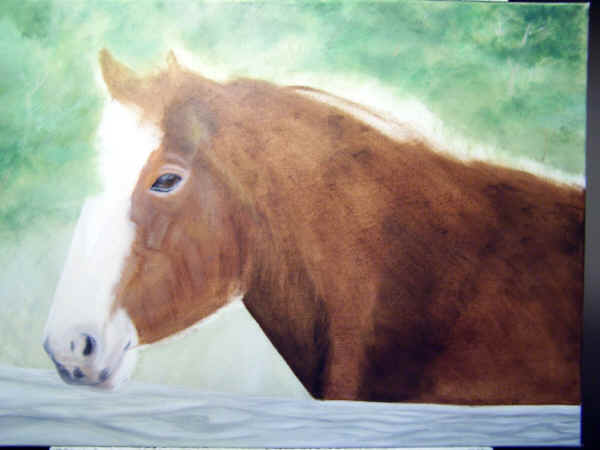
I wasn’t happy with the green background.
So I painted over it, with a mix of Ultramarine blue and Titanium white, plus a touch of a crimson colour that I mixed, this will give a softer feel to the painting, and add a bit of depth, that was badly lacking earlier in the painting.
The whole painting has been thoroughly dried at this stage with the heat gun.
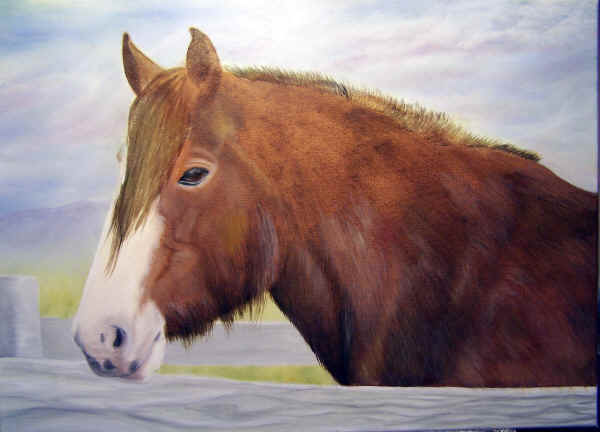
I now have the Draught Horse starting to look like a Horse.
The mane and forelock have been positioned, ears in place, the long hair under the head is also in place.
I also added a background fence, and intensified the grass colour, this will break up the dead area in the painting, and shift the focus back to the horses head, rather than wander off into the distance.
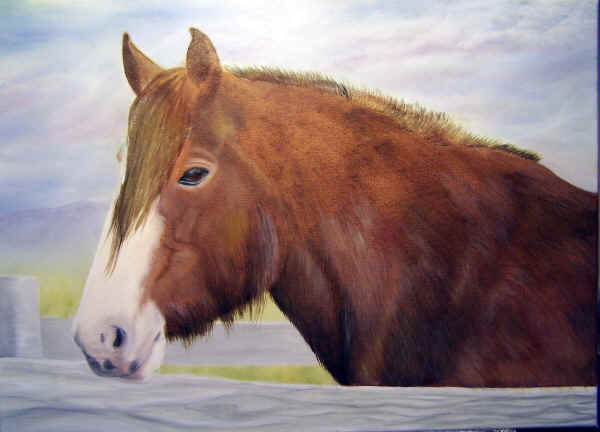
I added a few fine lines in different colours to represent the hair and also did a general tidy up of the overall composition.
It’s an interesting experience using the Genesis paints.
The bit I like, is you can leave your brush covered in paint overnight, or longer if needed.
The same goes for you palette, no need to clean it up, just simply push the paint around with a painting knife, to refresh the paint and away you go again.
I hoped you enjoyed this process, and you have a better understanding as to how I paint.
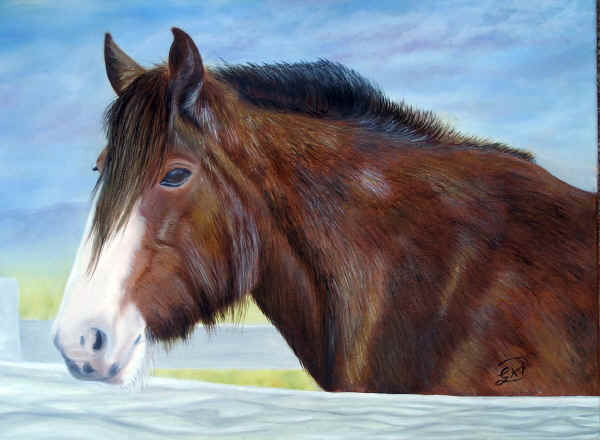
Draught Horse from Churchill Island Original Oil Painting by Garry Purcell
Artwork Name: Draught Horse from Churchill Island
Artist: Garry Purcell
Medium Used: Genesis Artist Grade Oil Paint
Support Type: Gallery Wrap Stretched Canvas (Staples a
Canvas Size: 45.7cmx91.4cm (18″x36″)

Leave a Reply
You must be logged in to post a comment.